Intelligence Editor
Editor Mode
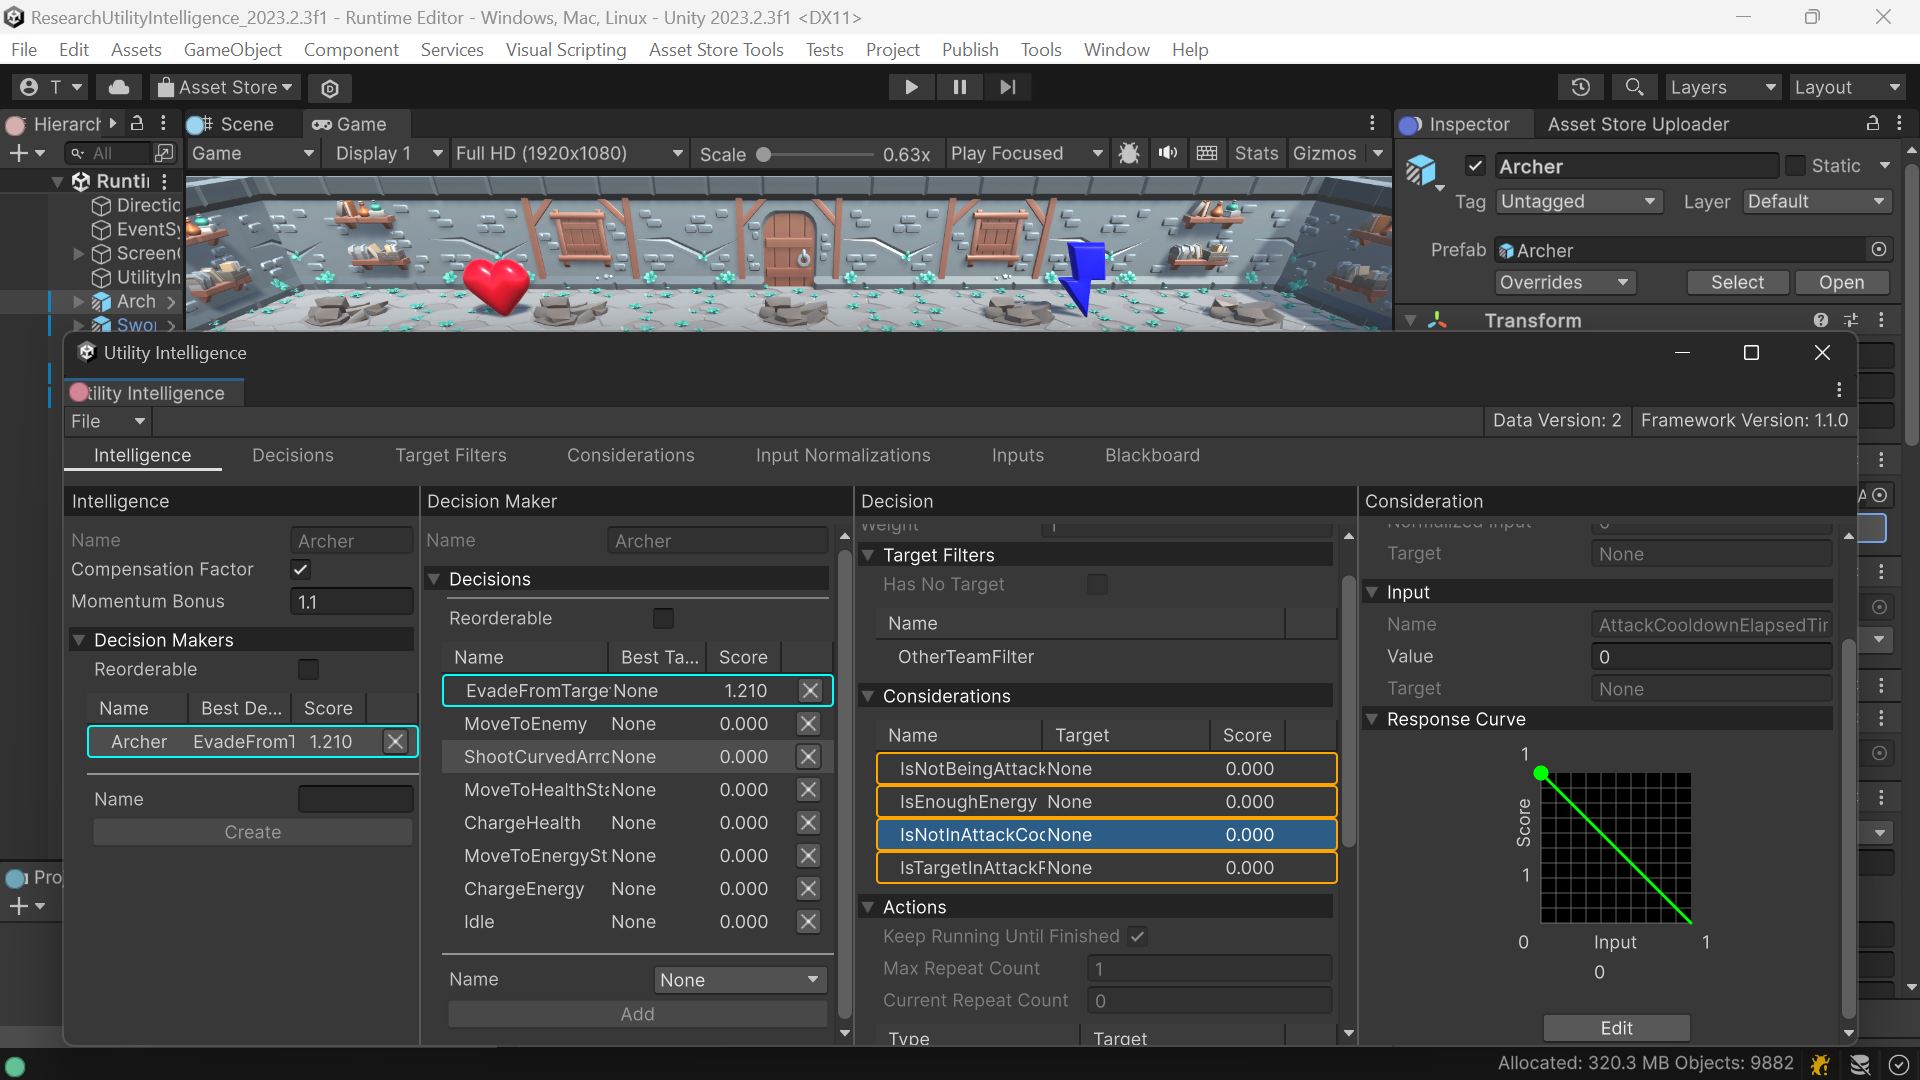
There are three ways to open the Intelligence Editor to edit an intelligence asset at editor time (Editor Mode).
- Double-click the Intelligence Asset in the Project Window.
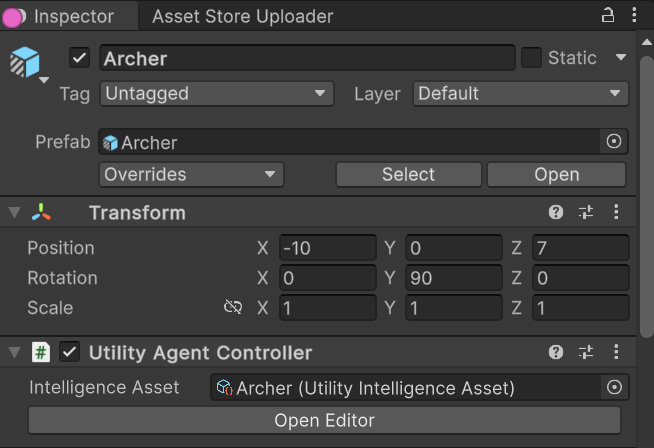
- Select the Utility Agent with the assigned Intelligence Asset in the Hierarchy Window, and then click the Open Editor button in the Inspector Window.
- Select Tools -> Carlos Lab -> Utility Intelligence (GO) -> Utility Intelligence Editor, and then select the Intelligence Asset in the Project Window.

Here’s how the Intelligence Editor looks in Editor Mode:
Toolbar
Currently, Unity only supports toolbar in Editor Mode, so you won’t see it if you open it in Runtime Mode.
File Menu
Import Data: Import the Intelligence Data from a JSON file.Export Data: Export the Intelligence Data to a JSON file.Show Data: Show the Intelligence Data in JSON format.Clear Data: Clear all the Intelligence Data.
With the File Menu Toolbar, you can edit the Intelligence Data directly in JSON format using your Text Editor, then import it into the Intelligence Asset:
Runtime Mode
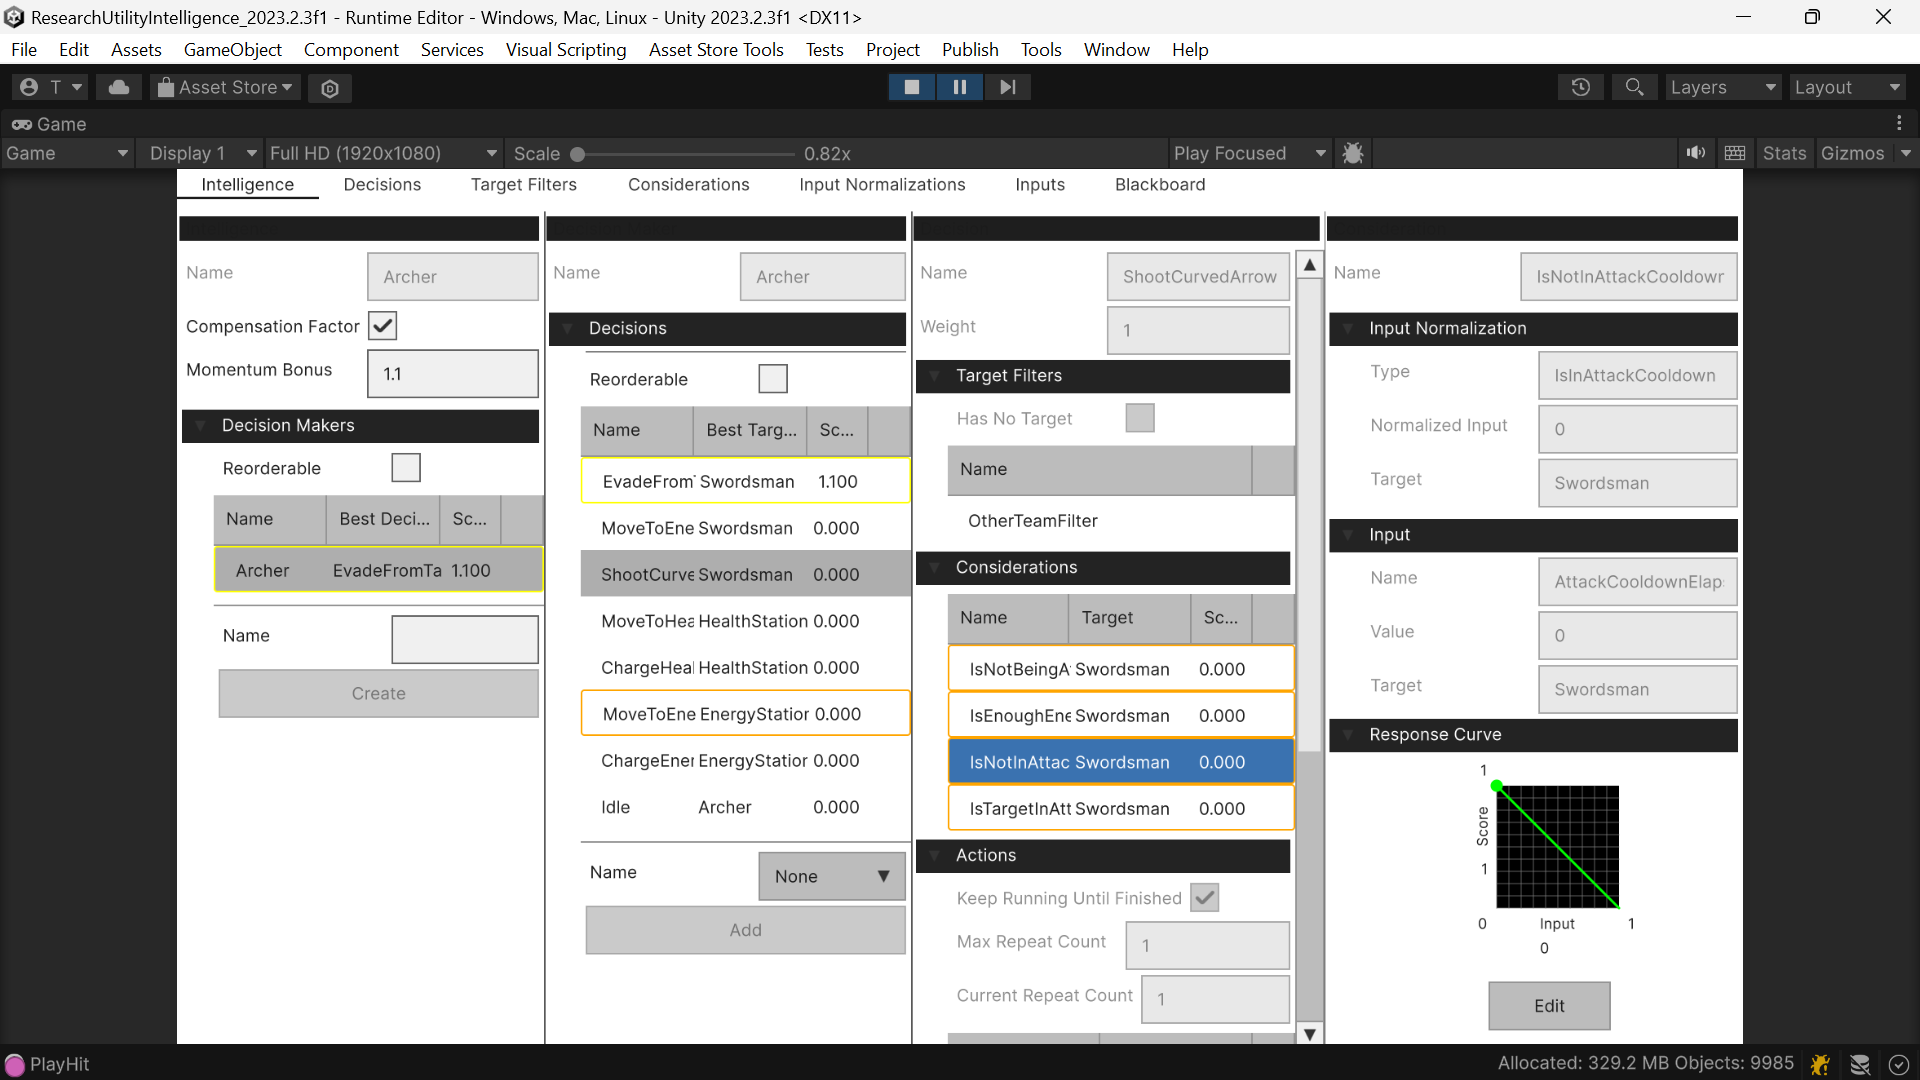
One robust feature Utility Intelligence offers is that the Intelligence Editor can function both during editor time and at runtime in builds. This feature enables users to adjust variables in the Intelligence Editor to observe how they affect the agent’s decisions for testing purposes in builds.
To open the Intelligence Editor for a Utility Agent at runtime in builds (Runtime Mode):
- Create a Utility Intelligence Runtime Editor by right-clicking in the Hierarchy Window, then select CarlosLab -> Utility Intelligence Runtime Editor. Alternatively, you can create it manually by creating a new Game Object and adding these components to it.
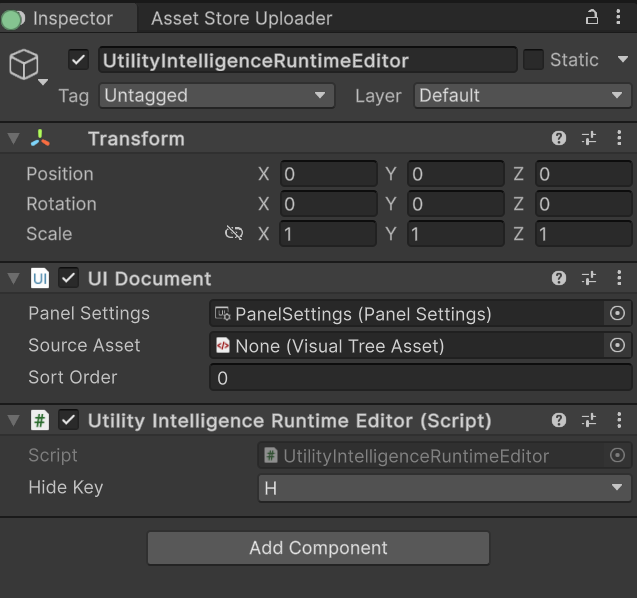
- Add a Utility Intelligence Runtime Editor Presenter to the Utility Agent, assign the Utility Intelligence Runtime Editor to the Editor field, and set the Show Key to show the editor when the key is pressed.

Here’s how the Utility Intelligence Editor looks in Runtime Mode:
Lock the Editor
We have received feedback that the ability to lock the Intelligence Editor is important for testing purposes. It allows users to modify variables from other Game Objects through the Inspector Window and see how they affect the decision scores in the Intelligence Editor. After considering, we decided to add this feature in v2.2.0. We believe you will like this feature.
Tabs
Intelligence Tab
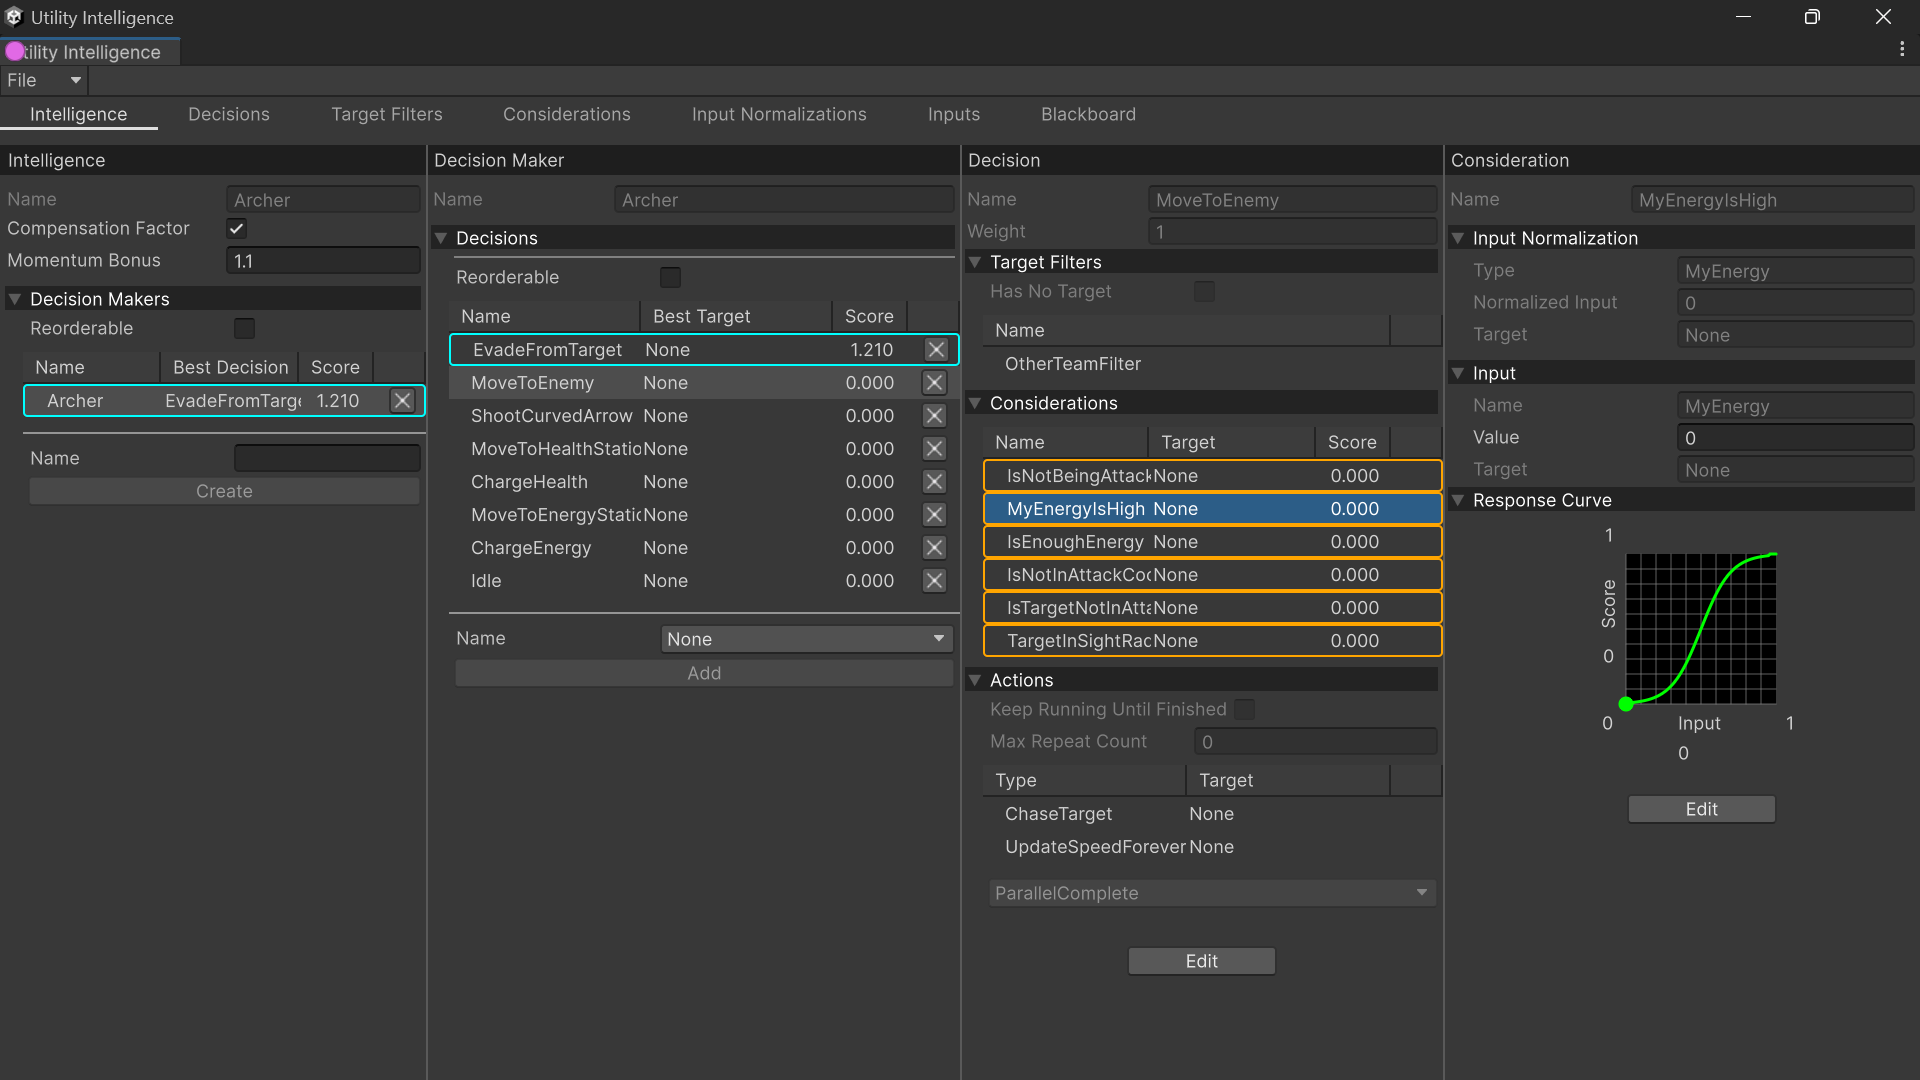
In Intelligence Tab, you can create new decision makers and add Decisions created in Decision Tab to your decision makers.
Decision Making Preview
The Decision Making Preview feature allows you to preview which decision is selected directly in the editor, without having to enter Play Mode.
Additionally, it shows the status of multiple components, such as the score and status of each decision and decision maker, highlighting which ones are selected.
It also displays the score of each consideration so you can see how individual consideration scores contribute to the overall decision score.
This feature can save you a lot of time when designing your agents’ behaviors.
Runtime Information
Additionally, you can view the current status of multiple components during runtime. It is similar to the Decision Making Preview feature but includes additional runtime information, such as the best target for each decision, and the execution status of decisions and action tasks.
Runtime Editing
Furthermore, you can tweak your AI behaviors during runtime for testing purposes without having to replay your game.
Decision Tab
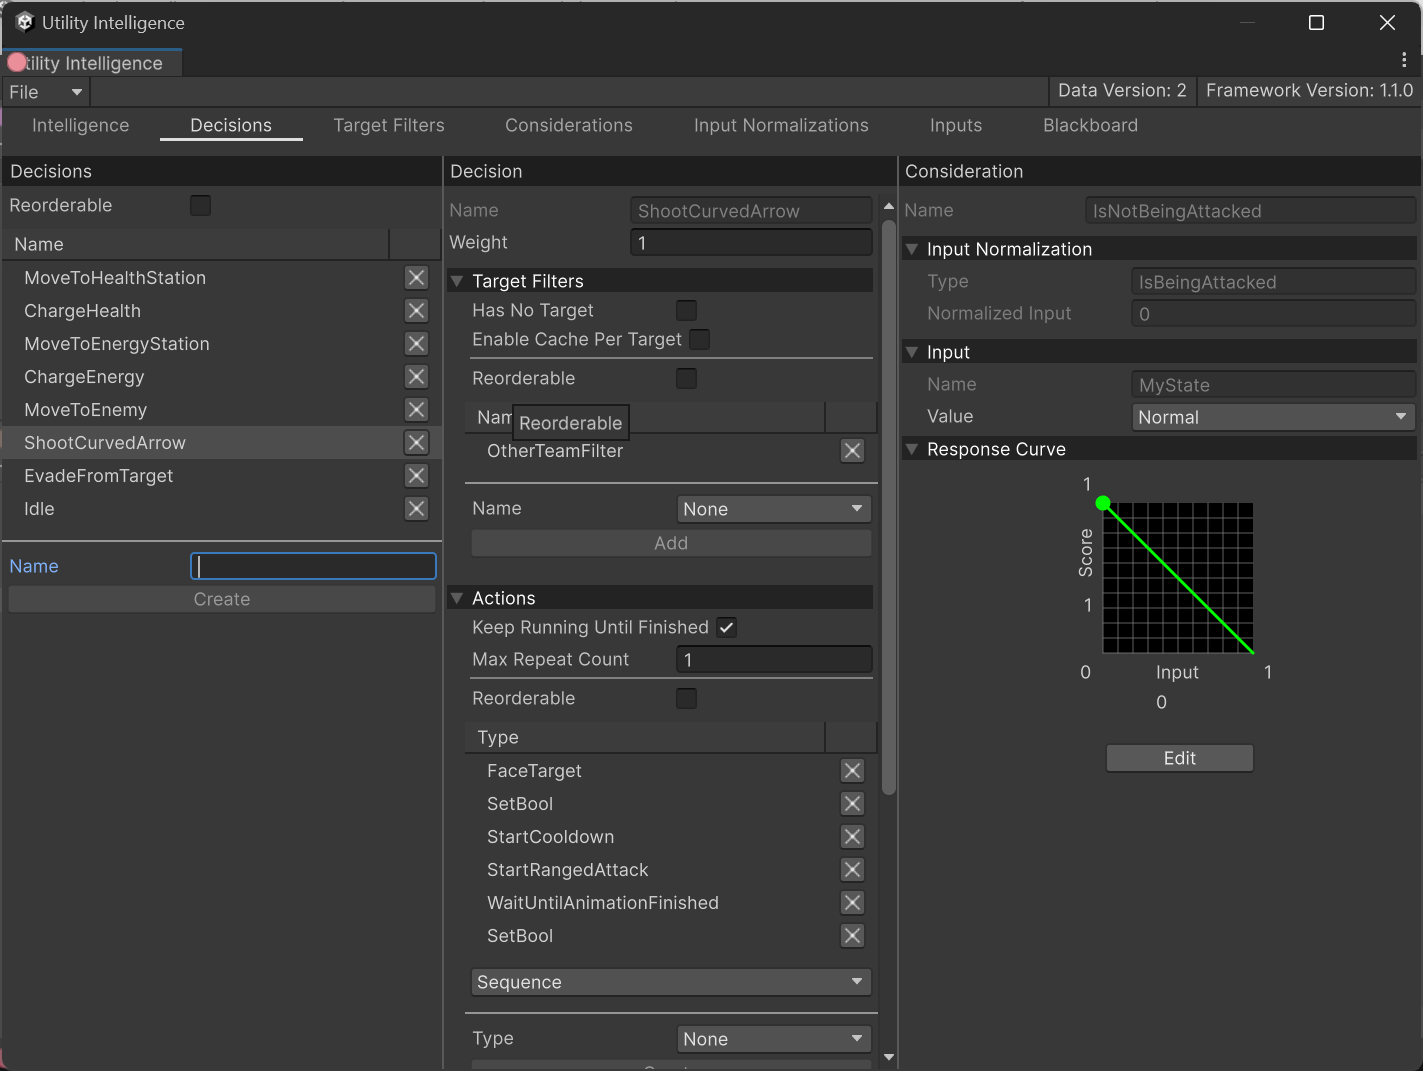
In Decision Tab, you can create new decisions and attach considerations, target filters, and action tasks to them.
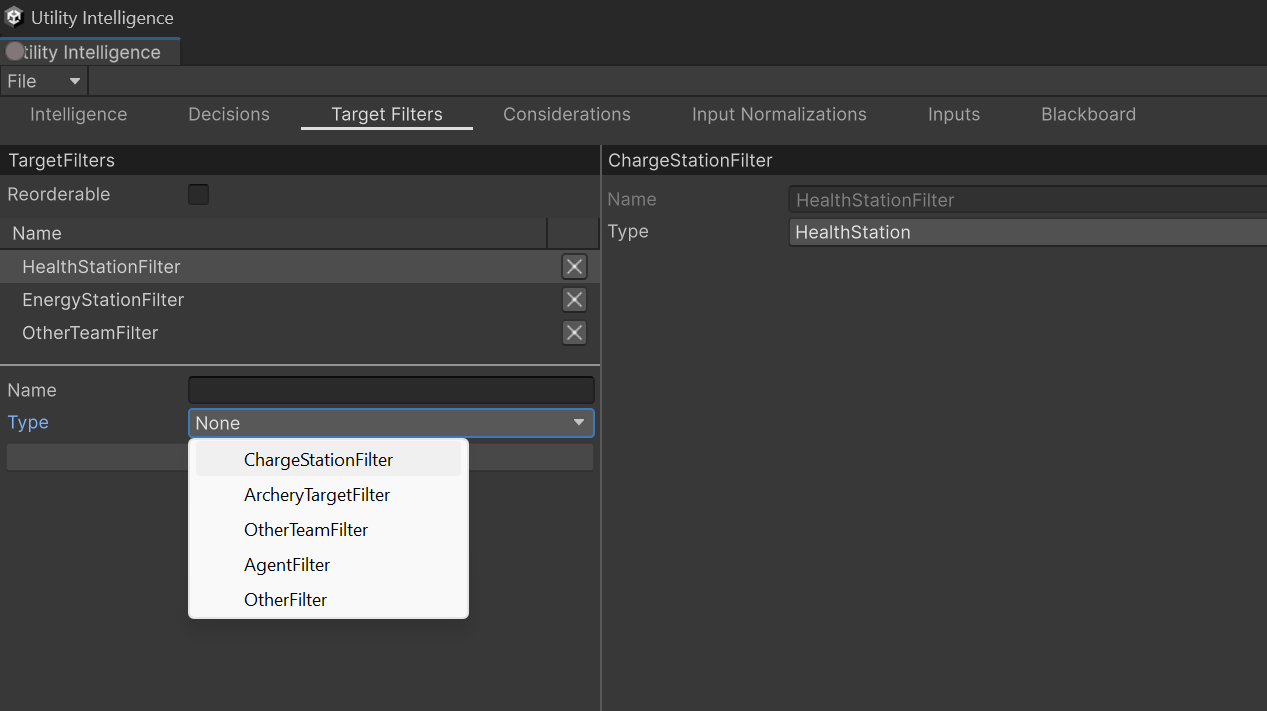
Target Filter Tab
In Target Filter Tab, you can create new target filters to filter targets for your decisions.
Consideration Tab
In Consideration Tab, you can create new considerations and select input normalizations and response curves for your considerations. Besides that, you can adjust the input values and response curves to observe how they affect the consideration scores:
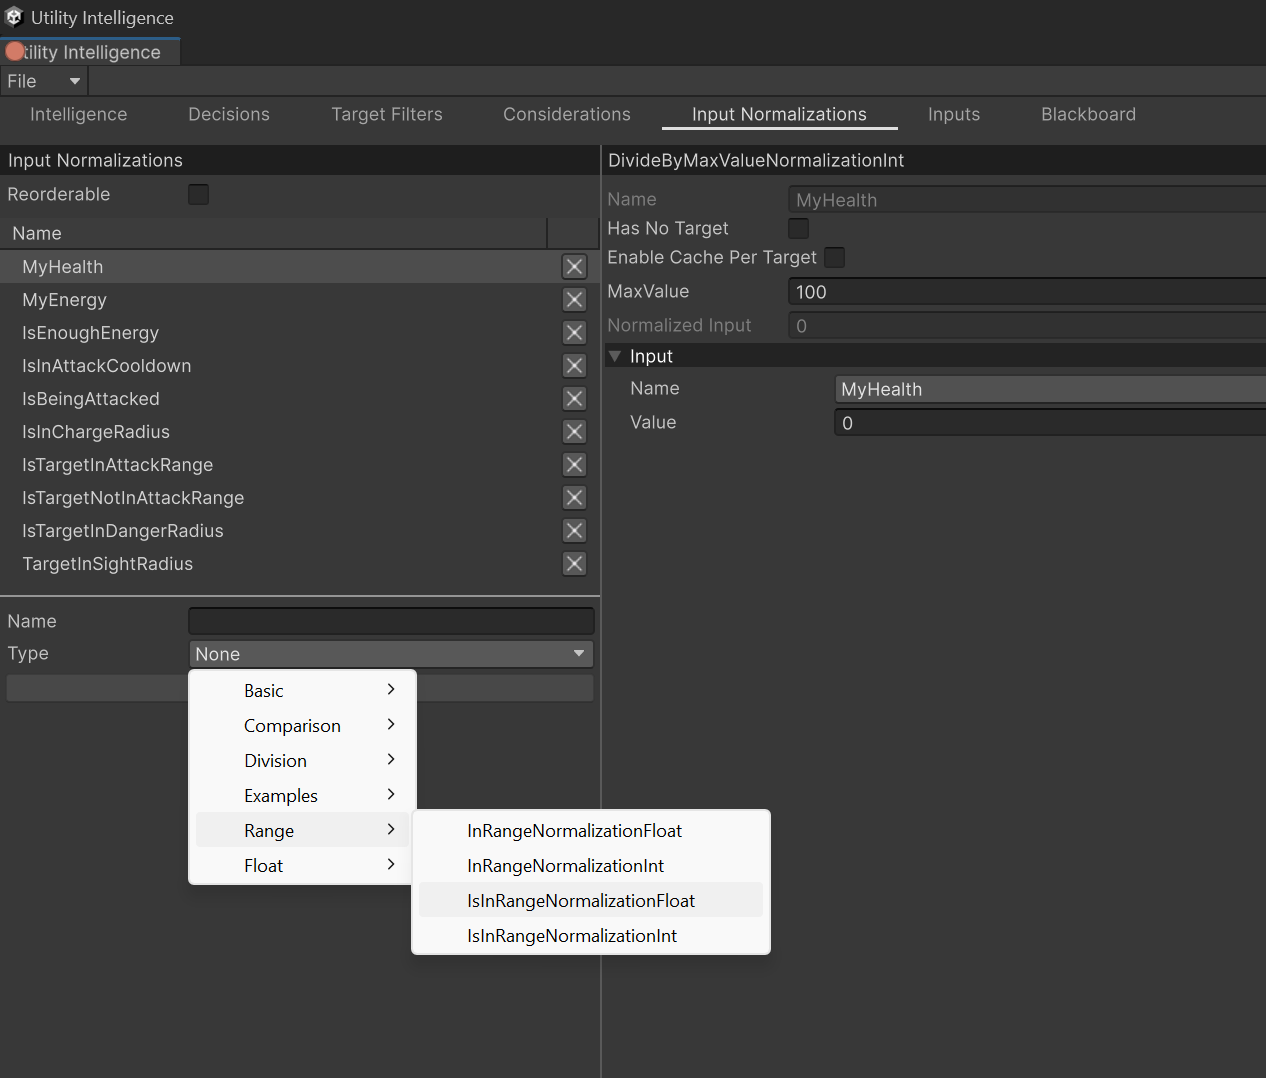
Input Normalization Tab
In Input Normalization Tab, you can create new input normalizations and select inputs for your input normalizations.
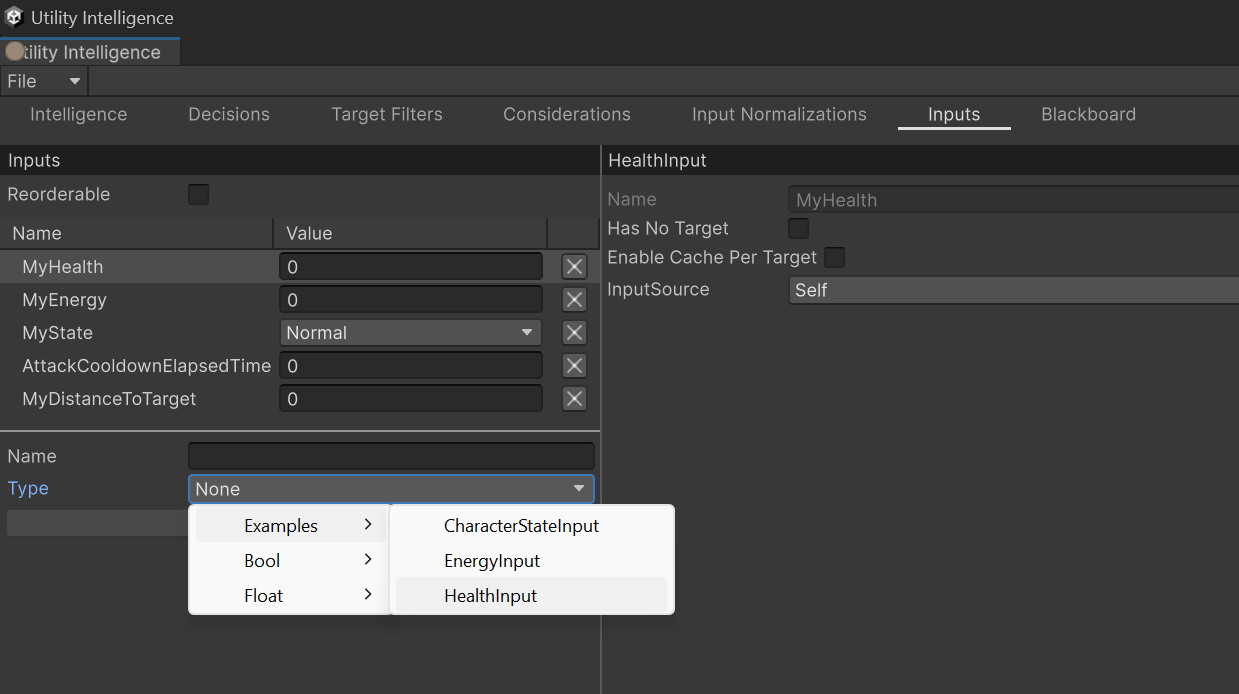
Input Tab
In the Input Tab, you can add new inputs to the intelligence asset. To do this, select an input type, enter a name, and then click the Create button.
Tip
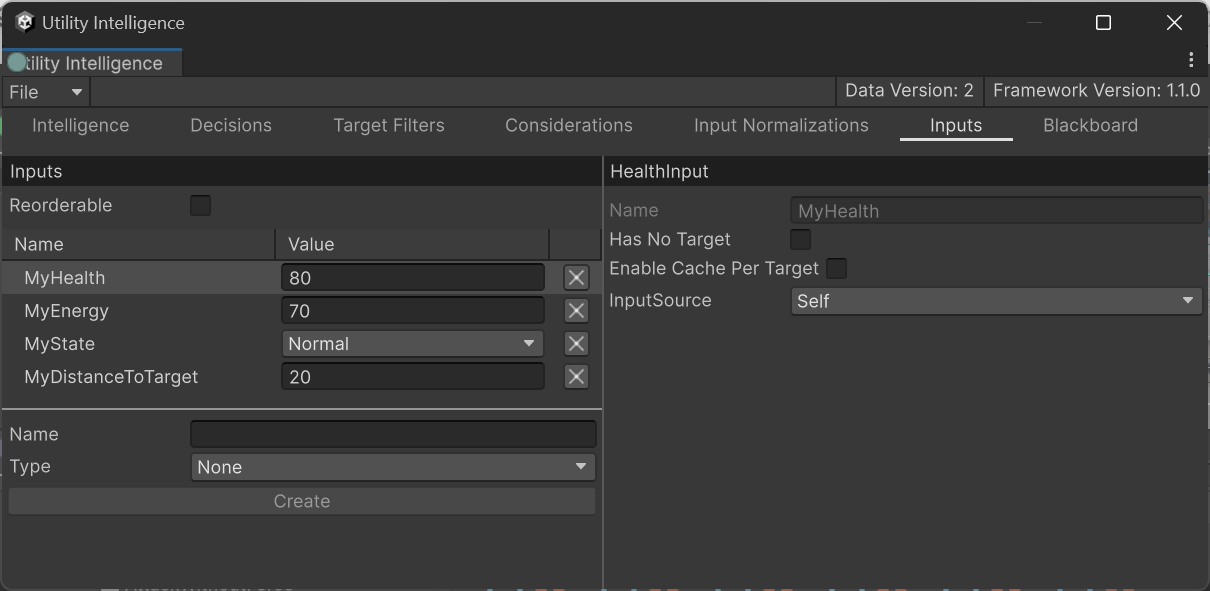
You can adjust the input value field to simulate input changes in the editor. This lets you preview which decision will be selected without entering Play Mode. For more details, see Decision Making Preview.
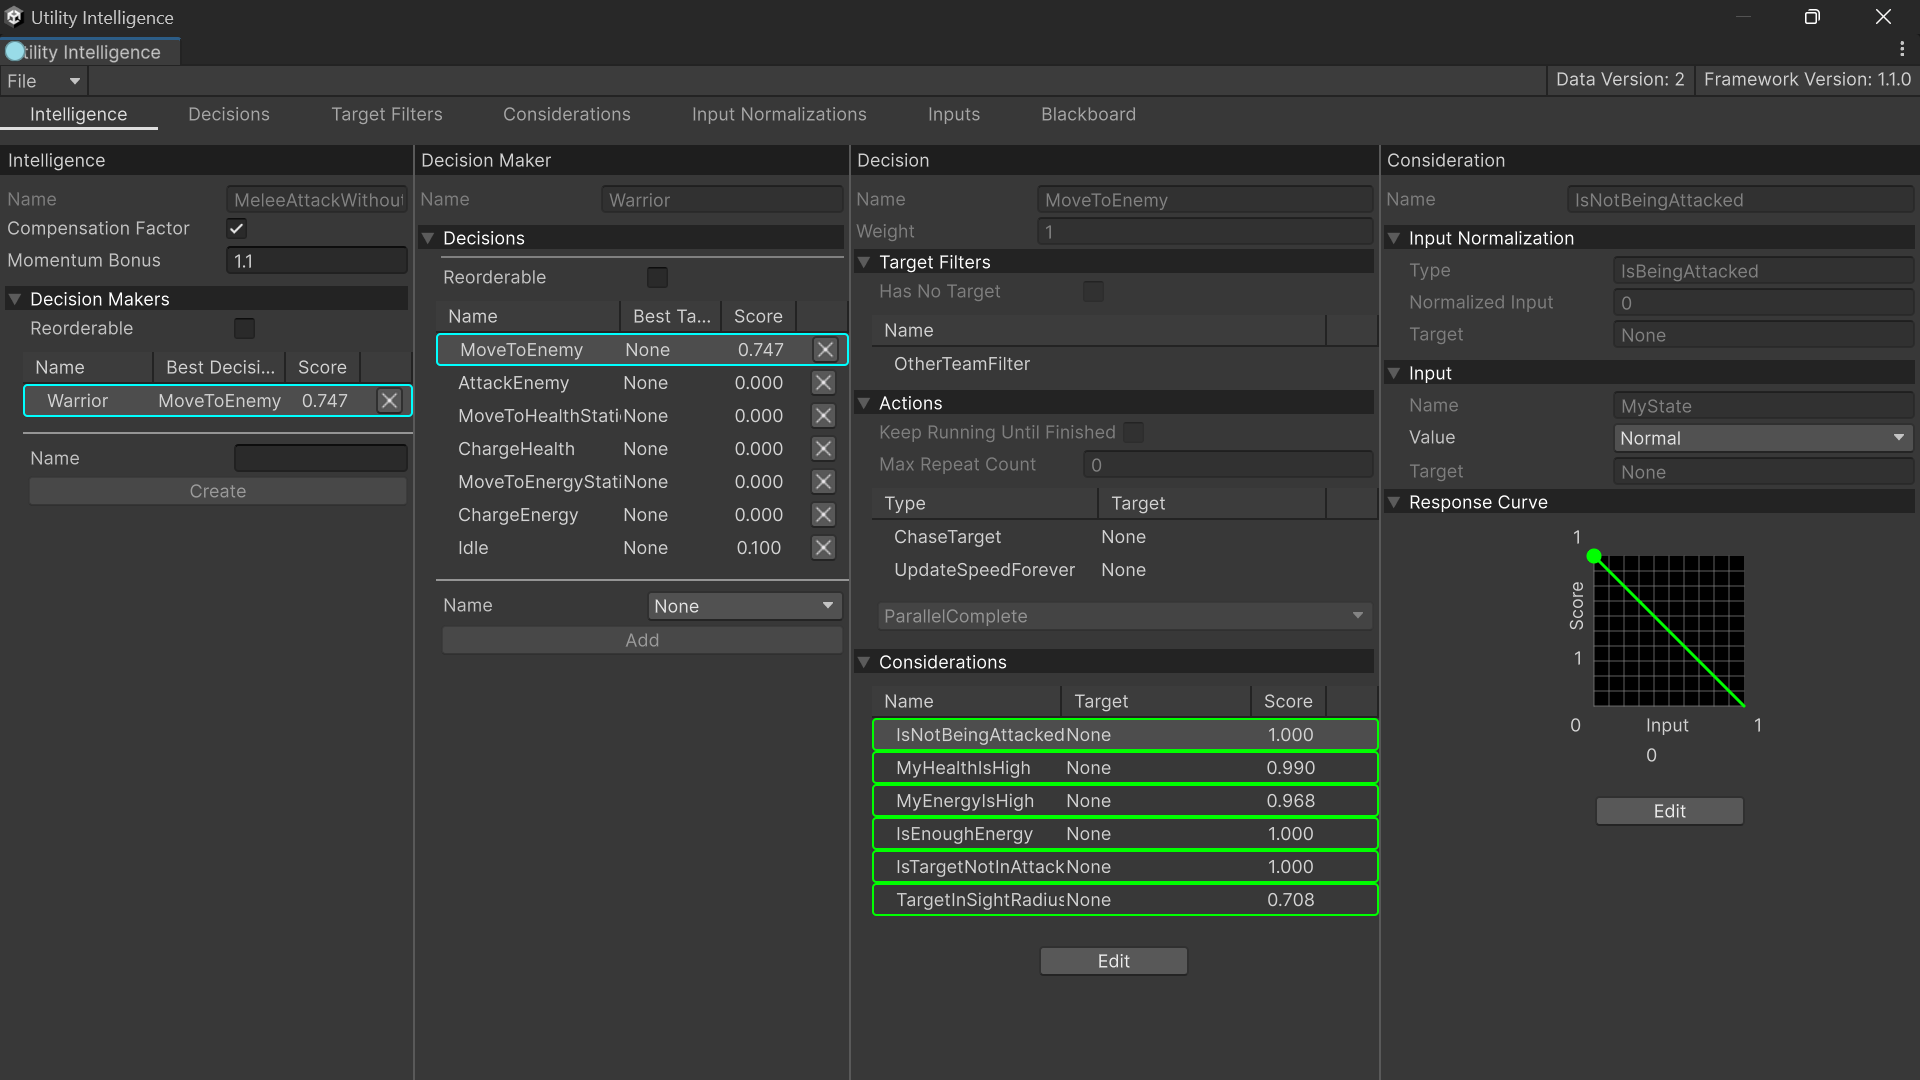
For example, if you set the input values in the intelligence asset: MeleeAttackWithoutForce (in our examples) as follows:
Then you will notice that the decision: MoveToEnemy is selected in the Intelligence Tab.
Blackboard Tab
In Blackboard Tab, you can add variables to share information between multiple components within the agent, such as inputs, input normalizations target filters, and action tasks.
Tip
If some blackboard variables are used by an input or an input normalization, then changing the values of those variables will also affect the consideration or decision they are attached to. It’s the same as changing the input values.
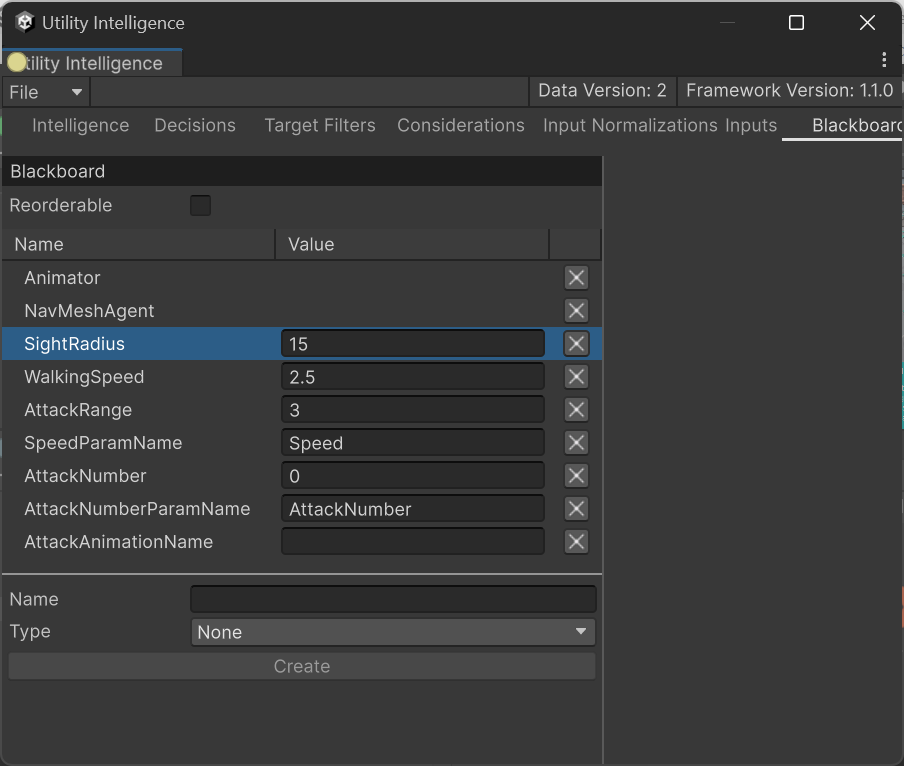
Continuing with the example from Input Tab, if you change the sight radius to 15 (the original value is 40):
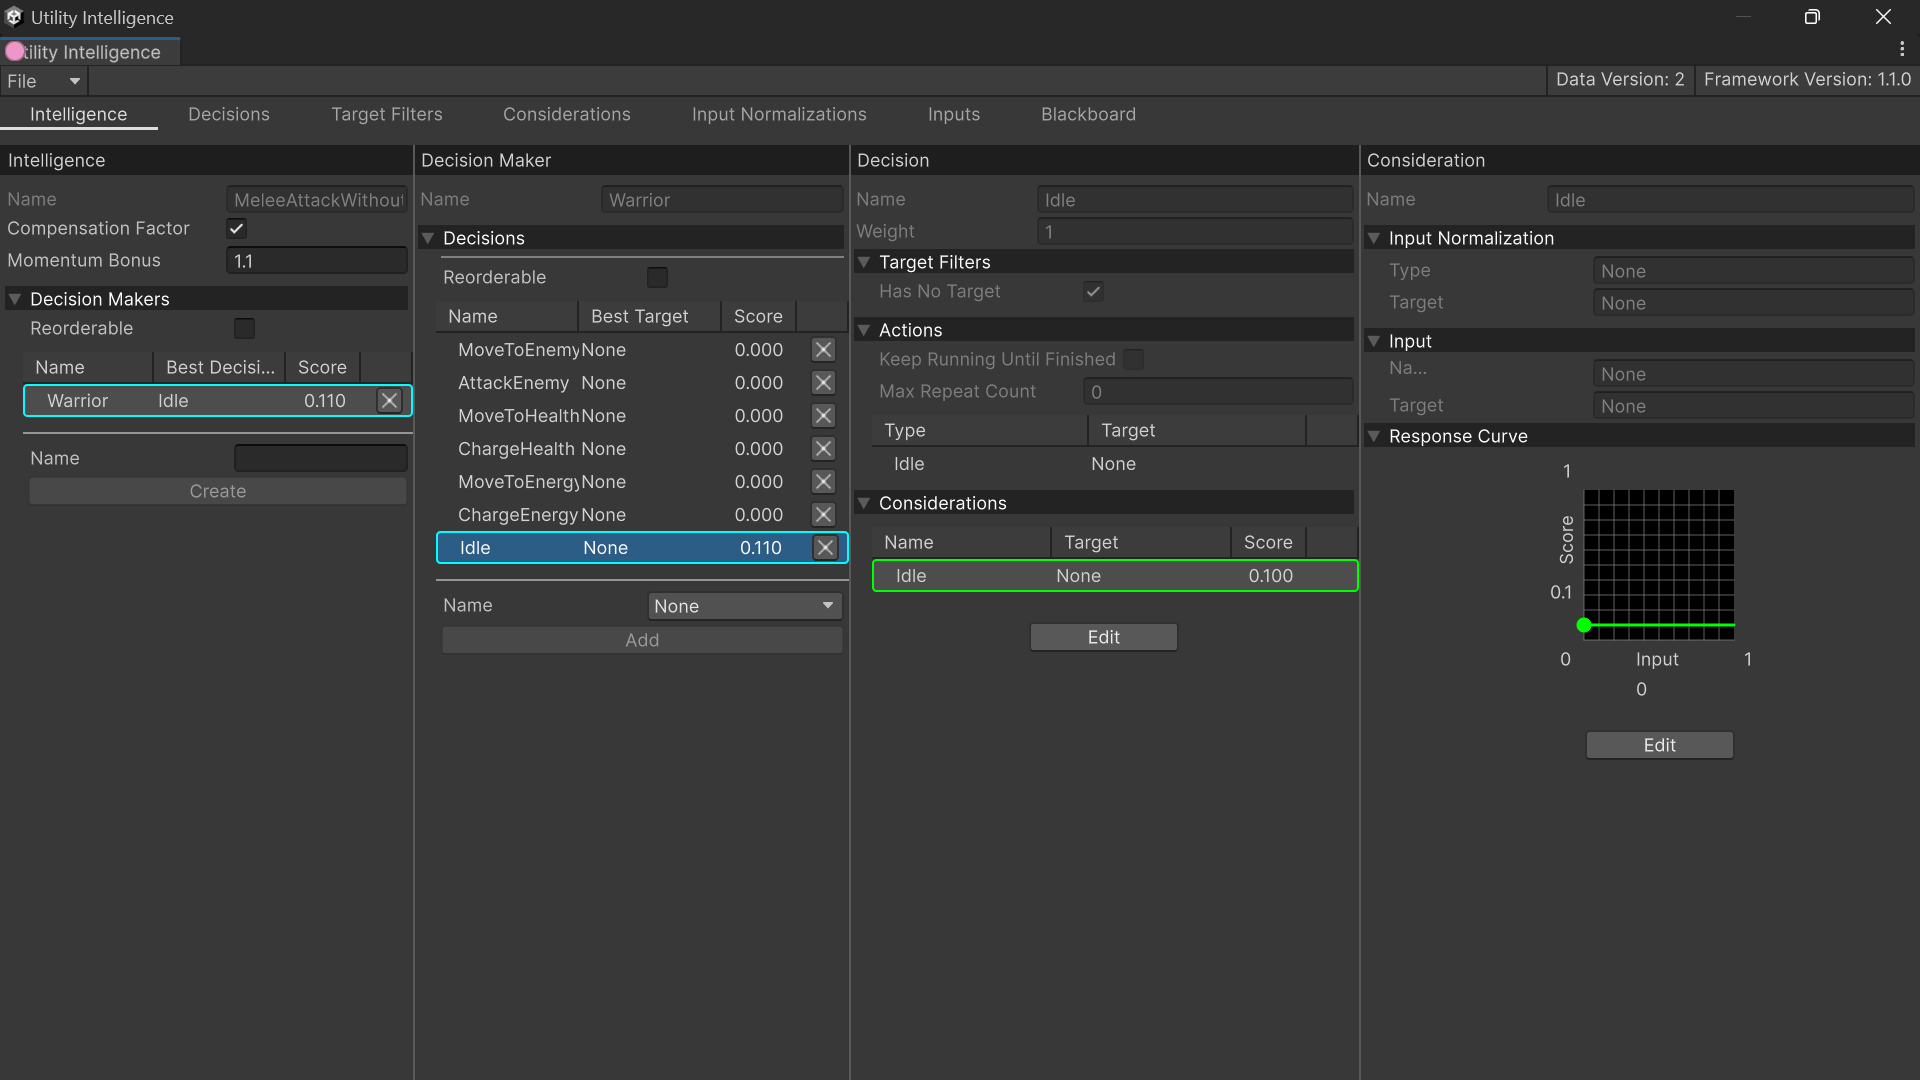
Then in the Intelligence Tab, the selected decision will change from MoveToEnemy to Idle because the enemy is out of the agent’s sight:
If you haven’t already, please consider leaving a review on the Asset Store. Whether good or bad, your feedback helps shape the future of this framework, and lets others determine whether it’s a good fit for their games. Thank you so much!💘 I love you all!🥰

Created : September 1, 2024
